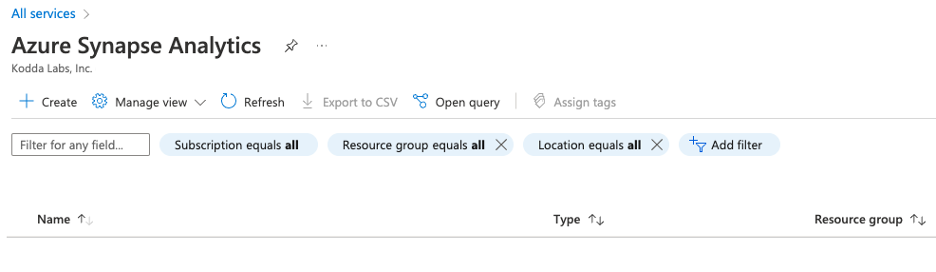
Querying Dynamics 365 Data Using Azure Sql Pools with SQL Authentication
For those of you using Dynamics 365 you may be running into a bit of a challenge this year if you are replicating your data via Data Export Service(DES). With DES reaching end of life this year, how do you keep applications running that rely on Dynamics 365 data being replicated to a Sql Server database? This blog will cover the steps to setup replication to an Azure Data Lake and use a Serverless SQL pool to query the data from the Azure Data Lake. Additionally, we will cover the steps you need to take in order to allow applications to connect using SQL Authentication.
Step 1. Create the Resource Group
For this Demo we will Name the resource group “Dataverse_Demo_RG”

Step 2. Create The Storage Account
Under Services Select Storage accounts

Choose your subscription and select a Resource Group. In this example we will use the resource group we just created Dataverse_Demo_RG.
Enter a storage account name. We will use the name dataversesa1 in this example.

Step 3. Assign Roles to Storage Account
Navigate to the Storage account you created dataversesa1 and select Access Control(IAM)
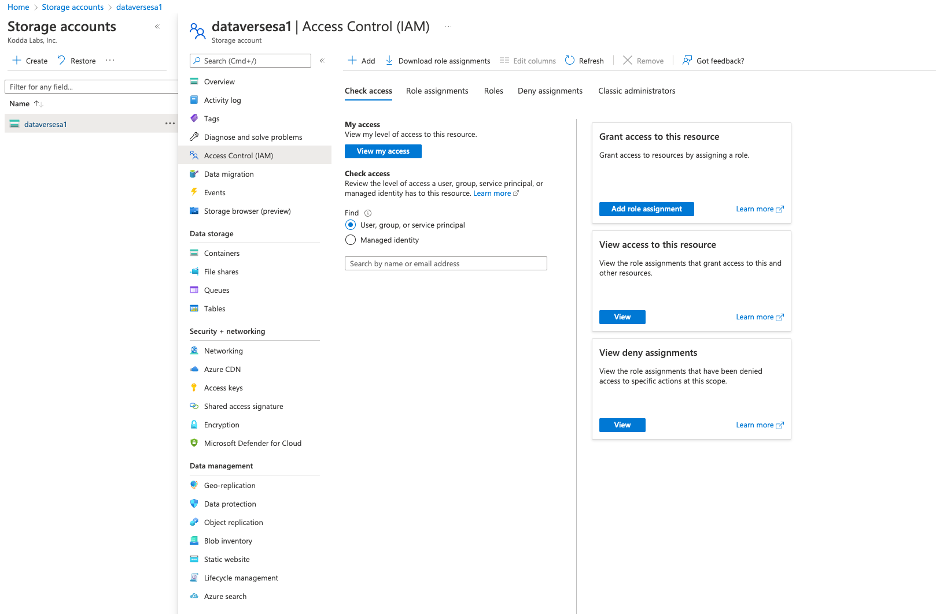
Select Add > Add Role assignment from the menu.

Select the roles Owner and Storage Blob Data Owner and assign to your user.

Step 4. Create a Container
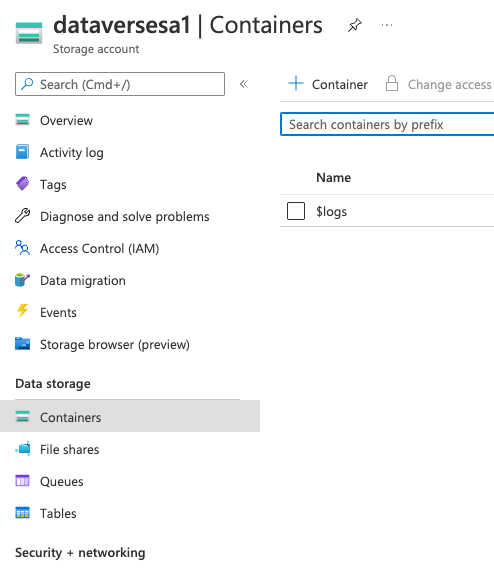
From the left pane select Containers to create a new container
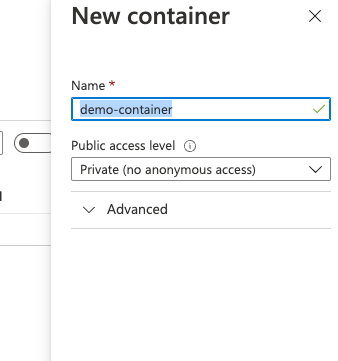
Give the container a name. For this demo we will name the container demo-container.
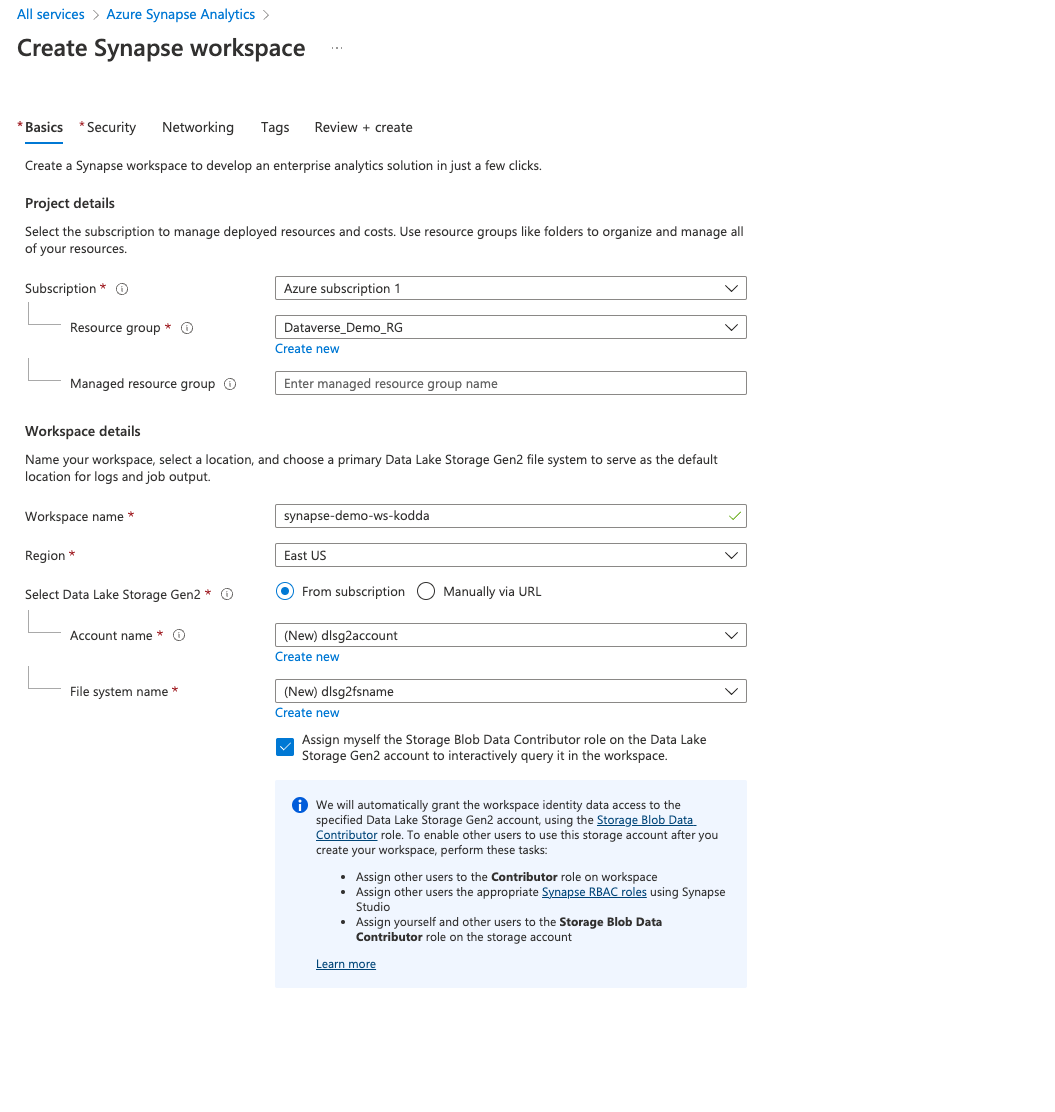
Step 4. Create the Synapse workspace.
Under Services select Azure Synapse Analytics and select Create.
Select resource group previously created Dataverse_Demo_RG and give the workspace a name.
synapse-demo-ws-kodda is what we will use here.
Under Select Data Lake Storage Gen2 you can create a new Account Name and File system name.
Or select from an existing.
Next you will need to create a password for the sql server admin login.
Here we will change the sql server admin login name to demopooladmin
And set a password.

You can select Review/Create to create the Synapse Analytics workspace.
Step 5. Connecting Dataverse to Synapse
Once Synapse Analytics has been deployed you can assign it to your Dataverse environment.
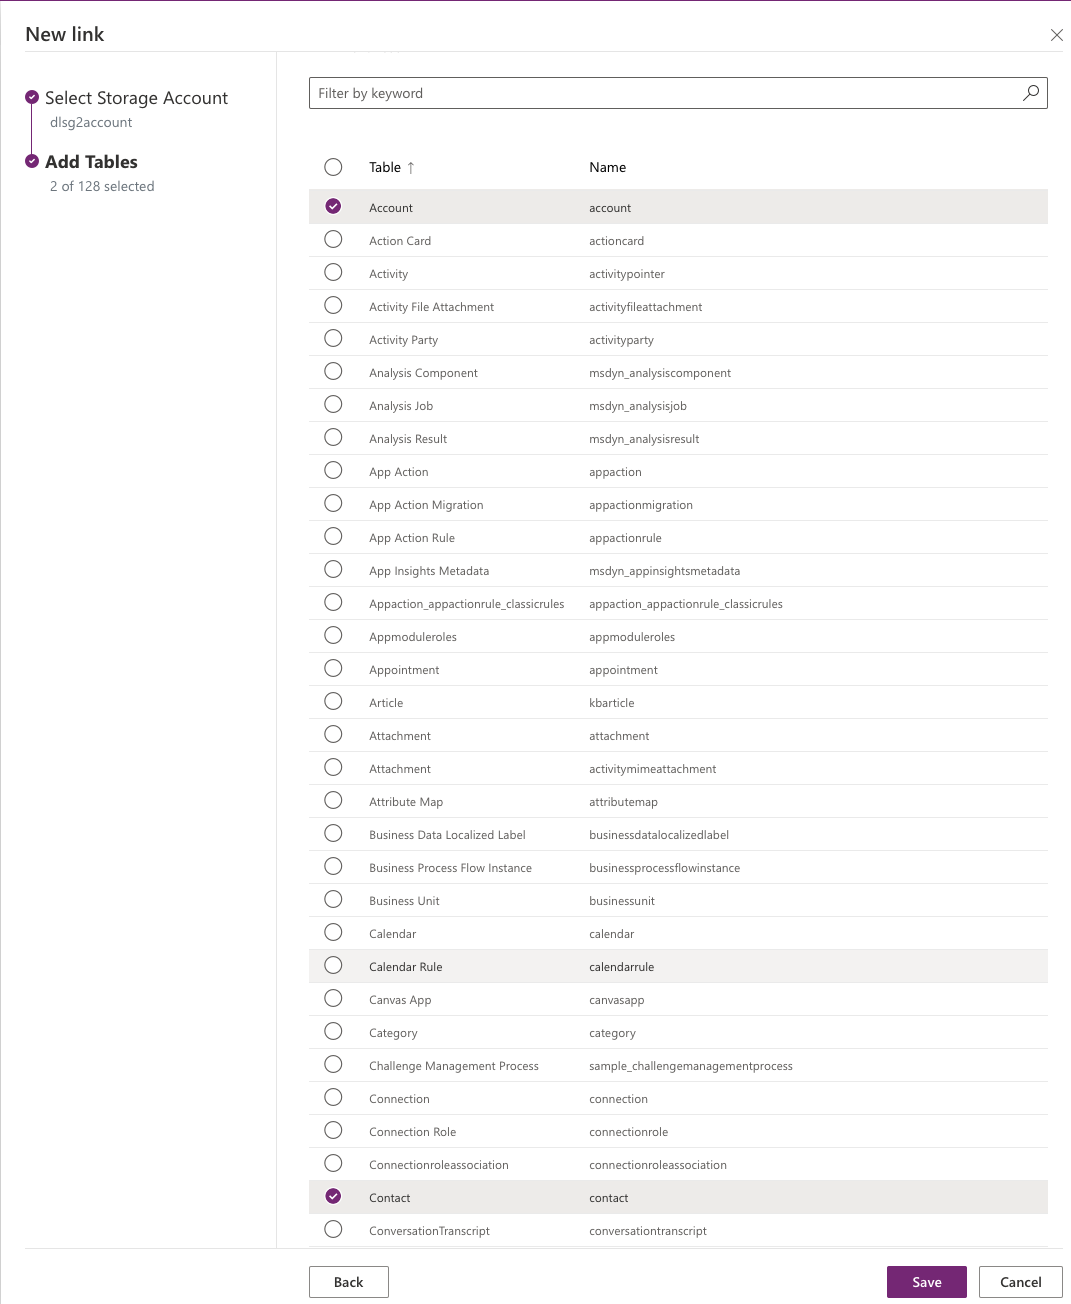
From your power Apps home page select Azure Synapse Link on the left and click new link.

Select the Resource Group/Workspace Name and storage account we have created in this demo.

Select the tables you would like to sync.
Step 6 Connecting a Sql Server Client
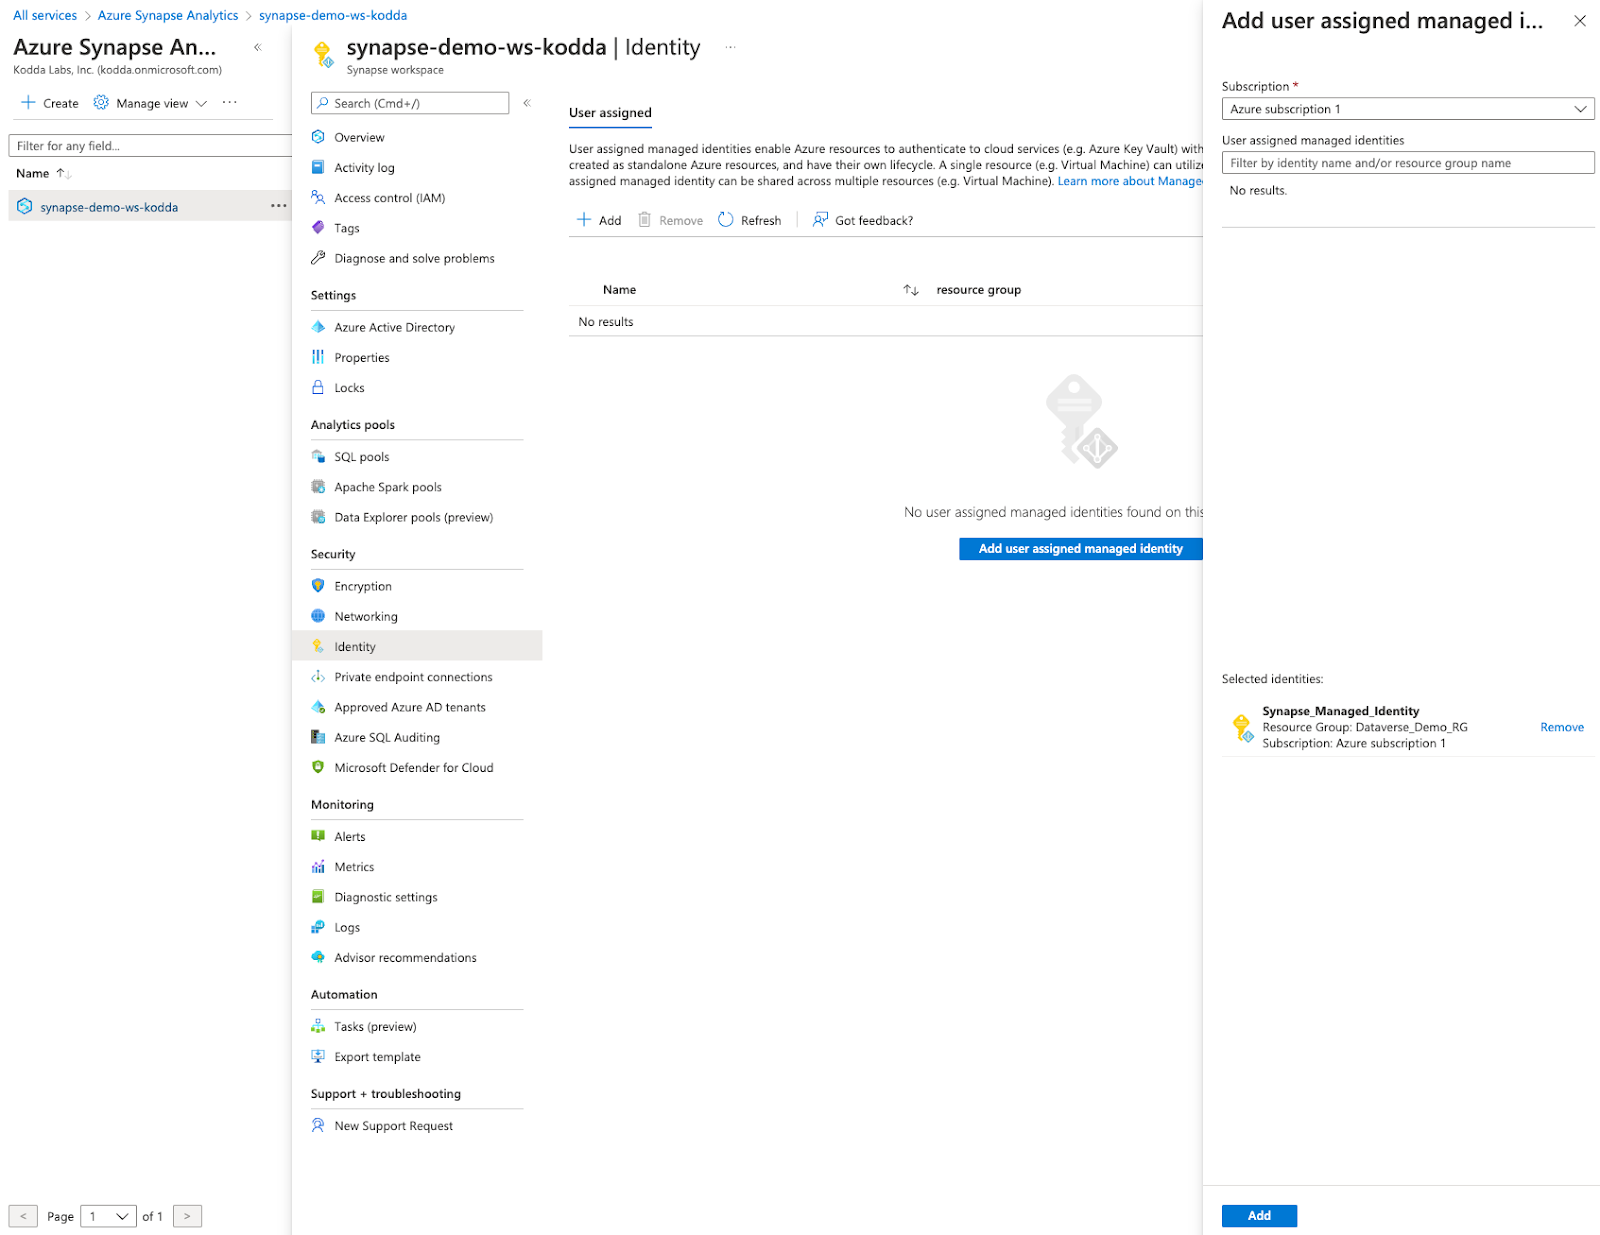
In order to read data from sql server you will need to have access to the underlying files in the data lake. We can accomplish this when logging in with a Sql Server managed account by using a managed identity that we provide to Synapse Analytics.
Create a new managed identity in the resource group Dataverse_Demo_RG.

Assign the role “Storage Blob Data Reader”
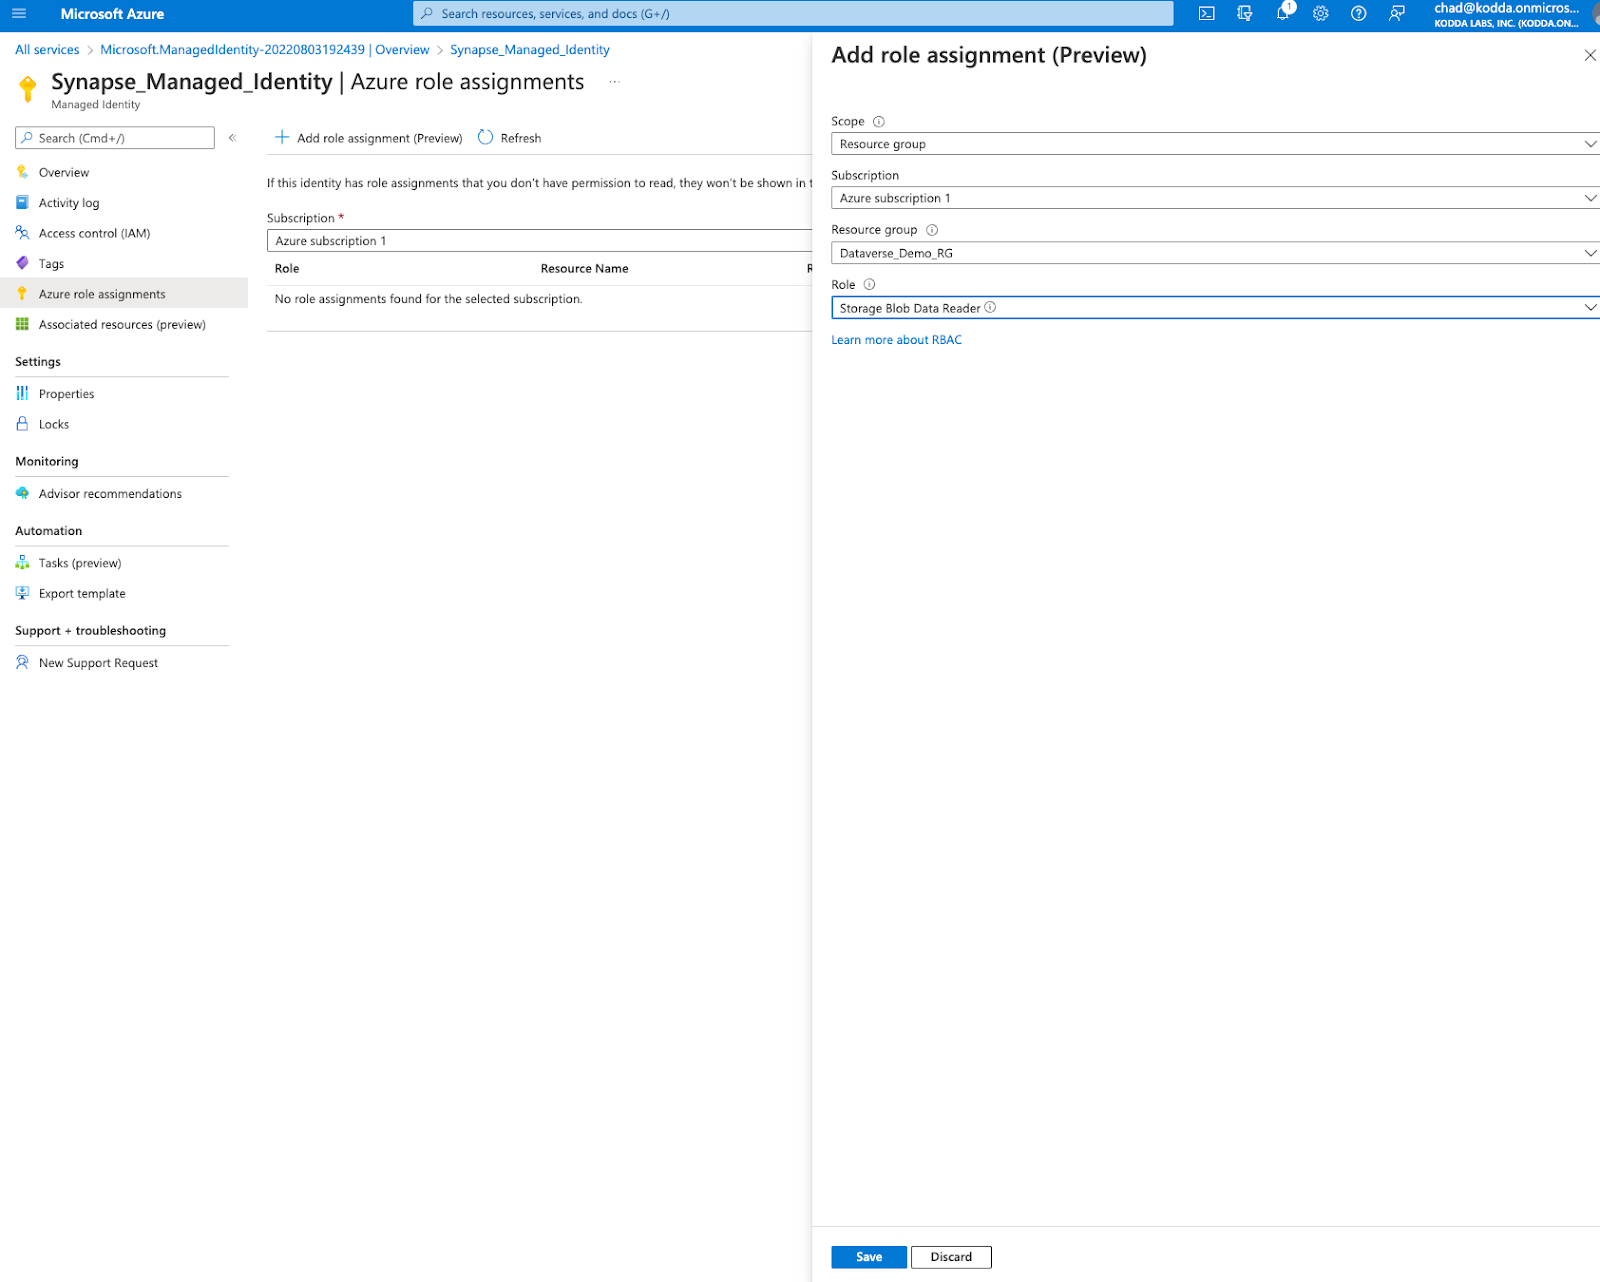
Add the newly created managed identity to the synapse workspace.
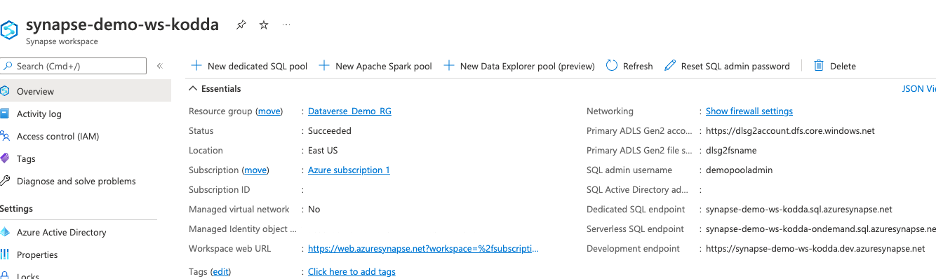
To connect to the Azure Sql Pool you can find your connection string by navigating to Azure Synapse Analytics and selecting your workspace.
Once you connect with a SQL client you are likely receive an error when attempting to query any of the tables.
Like this:
SQL Error [15151] [S0001]: Cannot find the CREDENTIAL 'https://dlsg2account.dfs.core.windows.net/dataverse-koddalabsinc-xxxxxxxxxxx/account/*.csv', because it does not exist or you do not have permission.
To resolve this error we will need to create a credential that uses the managed identity to access the underlying files in the data lake. This can be done with the following command.
Using the Serverless SQL-endpoint you can run the following command to create the credential for each table you need to access.
USE [master];
CREATE CREDENTIAL [https://dlsg2account.dfs.core.windows.net/dataverse-koddalabsinc- xxxxxxxxxxxxxxxx /account/*.csv]
WITH IDENTITY = 'Managed Identity'
;
Creating a SQL Server user for other applications
Because the replicated database is in read only mode we will need to create the user grant permissions to connect to any database from the master database. Additionally we will need to grant select on the objects here. This can be done with the following commands.
CREATE LOGIN kodda_test
WITH PASSWORD = ‘Password';
GRANT CONNECT ANY DATABASE to kodda_test;
GRANT SELECT ALL USER SECURABLES to kodda_test;
Additionally we will need to grant references on the credentials to the new user.
GRANT REFERENCES ON CREDENTIAL::[https://dlsg2account.dfs.core.windows.net/dataverse-koddalabsinc-xxxxxxxxxxxxxxxx/account/*.csv] TO [kodda_test];
If you have any questions feel free to reach out.